Building an Invoice, Work Order or Job Card Solution with Mobile Forms
Quite a common requirement our customers have is to be able to bill a customer while onsite for work performed or goods supplied, with the output of the form being a nicely-formatted PDF with your company and payment details. In the past this has been quite difficult to do properly with Mobile Forms as one or two pieces of the puzzle were missing. In this quite lengthy blog post I’m going to walk you through the steps and moving parts to create such a solution from scratch.
Click to see what the output invoice PDF will eventually look like – Work Order_1134052 (removed).
Requirements:
All you need to follow along is an account with us on and an Android, iPhone/iPad or BlackBerry device.
Difficulty:
Intermediate
Time:
Approx 30 mins.
Step 1 – Design your form
This screenshot gives you an idea of what the completed form looks like on Android:
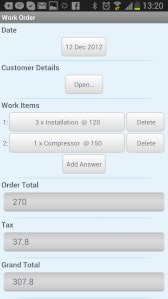
If you want to skip the form design, you can grab the JSON definition. Otherwise, let’s go through creating the form step-by-step, paying extra attention to the calculations and repeat group fields.
Launch the form designer
Click the New Form button to launch the designer with a blank form. If you downloaded the JSON definition above, use the Import button to load that now.
Add a date field and Customer Details subform
Although you can access the date/time a form was submitted from our connectors, it probably makes sense to remind the device user that they are submitting this information and can optionally override the date from today’s date. Drag a Date field from the toolbox and name it “Date”.
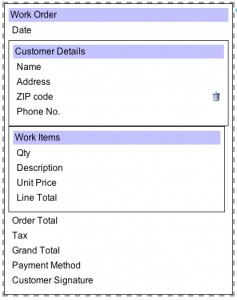
For the customer details, it probably makes sense to section these off into a Subform, so begin by dragging a subform from the toolbox below the Date field. Add two text fields for Name and Address, an integer for ZIP Code and a Phone No field called “Phone No.”:

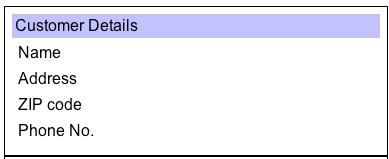
Your subform should look something like the above.
Adding the Work Items repeat group
A repeat group field allows the device user to capture any number of line items into the form and this is exactly what we need here, as it’s impossible to know beforehand how many items of work will be completed or products sold. Within the repeat group you can include any of the regular form fields. So start by dragging a repeat group field into the form below the customer details subform like so:
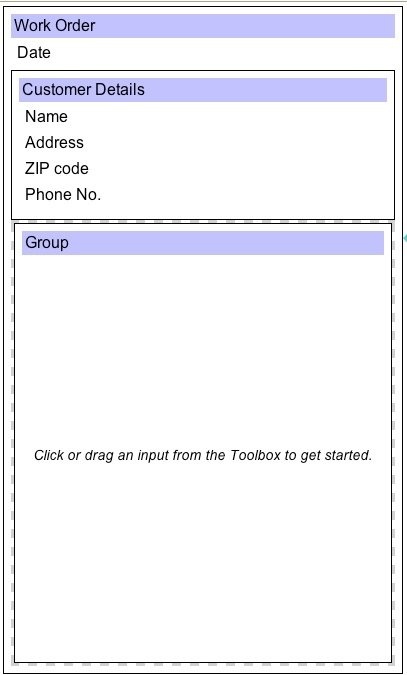
Before we add the items, use the Properties window on the right to set a title for the repeat group; call it “Work Items”. Now, add the following fields into the Work Items repeat group by dragging the fields into the group area:
- Qty – integer field
- Description – free text
- Unit Price – decimal field
- Line Total – calculated field
For the Line Total, we want to multiply the quantity by the unit price. So again using the Properties window with the Line Total field highlighted, set the Expression for the calculation: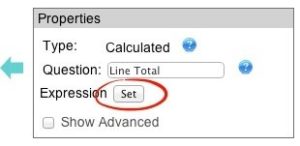
You now need to enter the expression as follows:
Qty * Unit_Price
If you’ve named your fields differently, use the Add Input button to select your quantity field, then type “*” to denote multiplication, then insert your unit price field. That’s the repeat group done! To make things easier on your mobile users, you may want to replace the Description free text field with a select lookup.
One nice touch is to set a Summary Expression for the repeat group. This is the text you will see once you’ve finished editing the repeat group item and have gone back to the main form. By default it will just say “Edit”, but we want it to say something like this:
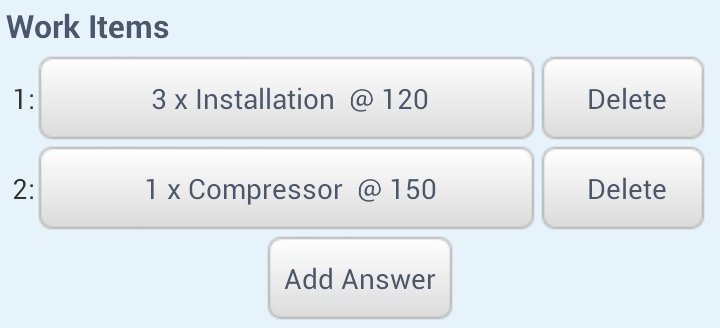
To accomplish this, make sure you’ve selected the repeat group by clicking it’s title, then under Advanced Properties, click the Set Summary button to build another expression as below:

I used this for my expression:
CONCATENATE(Qty,” x ” ,Description, ” @ “, Line_Total)
The CONCATENATE function allows you to join answers together, whether they be text fields, integers, decimals or even static text like the multiplication sign and other symbols I used above. Again, you could build these expressions or just type them in (but be sure to use the right field identifiers).
Adding up the bill and finishing off the form
So now that you have a set of line items, we need to total them up, apply any applicable sales tax and present a grand total. Start by adding 3 calculated fields to your form with the following titles and expressions, like you did above:
- Order Total – SUM(Work_Items.Line_Total)
- Tax – ROUND(0.14*Order_Total,2)
- Grand Total – ROUND(SUM(Order_Total, Tax),2)
- SUM can either SUM decimal/integer values found within your form, or it can be applied to items repeating in a repeat group. Our forms engine will figure that out.
- Pay attention to the dot notation used to access the Line Total’s value in the repeat group. It’s always safer to use “Add Input” button to be sure you’re getting the right field identifier.
- ROUND takes a decimal argument and optionally, a significant number of figures to round the value to after the decimal point. This just makes for nicer-looking values.
- Check
- Credit Card
- Account
Step 2 – Create a nice PDF invoice
Now that the form is built, let’s use these fields to create a nice-looking PDF that we can either store or e-mail to customers for payment. Start by adding a connector to your form from the Forms page on your dashboard:
![]()
Now, choose the MS Word connector from the list of options on the left after which you will be presented with some configuration options:
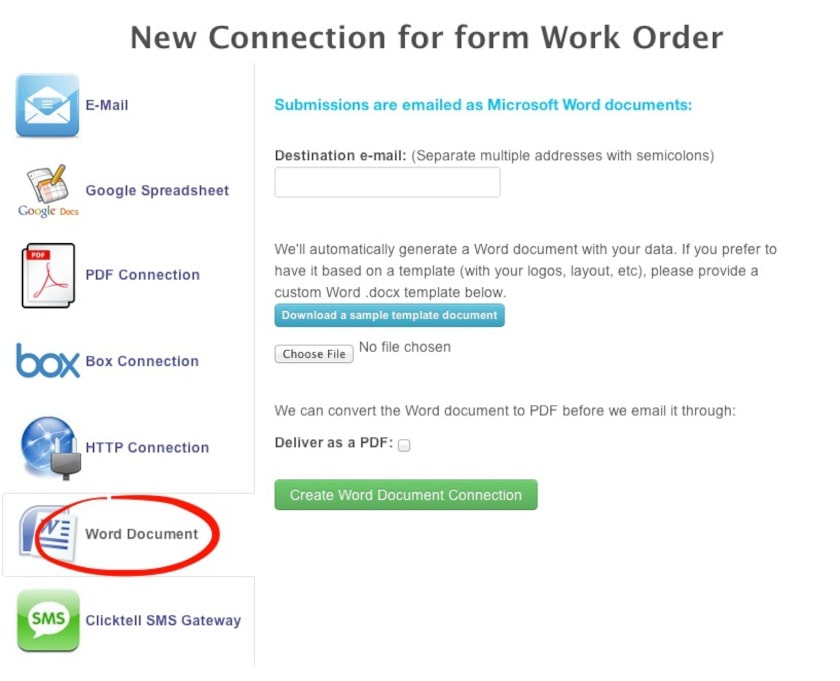
You’ve got several options here. If you just supply your e-mail address, the connector will take each form’s completed fields and insert them into a Word Document which be mailed to your account. You can also upload your own Word template and the connector will then merge values from the mobile device into your placeholders. To help with this, you can download a sample template which will explain the templating language as well as including examples using your particular form.
In the interests of time and space, we’ve prepared a template based on the form we created which you can download here and upload into your connector.
Once you’ve done this, be sure to check the “Deliver as PDF” checkbox which will automatically convert your completed Word doc to PDF prior to e-mailing. This output provides a much more professional, consistently laid out and difficult to edit result.